How to (Properly) Attach a Windsock
Over the years, we have seen many 'novel' ways in which people attach Windsocks to either a Rotor Arm Pivot or Windsock Frame. Here are our thoughts on doing it properly.
Topic
Windsock Installation & Attachment
Applies To
Rotor Arm Pivots & Windsock Frames
Hardware
316 Stainless Steel
Maintenance
Annual Inspection Recommended
Attachment Method One — Rotor Arm Pivot
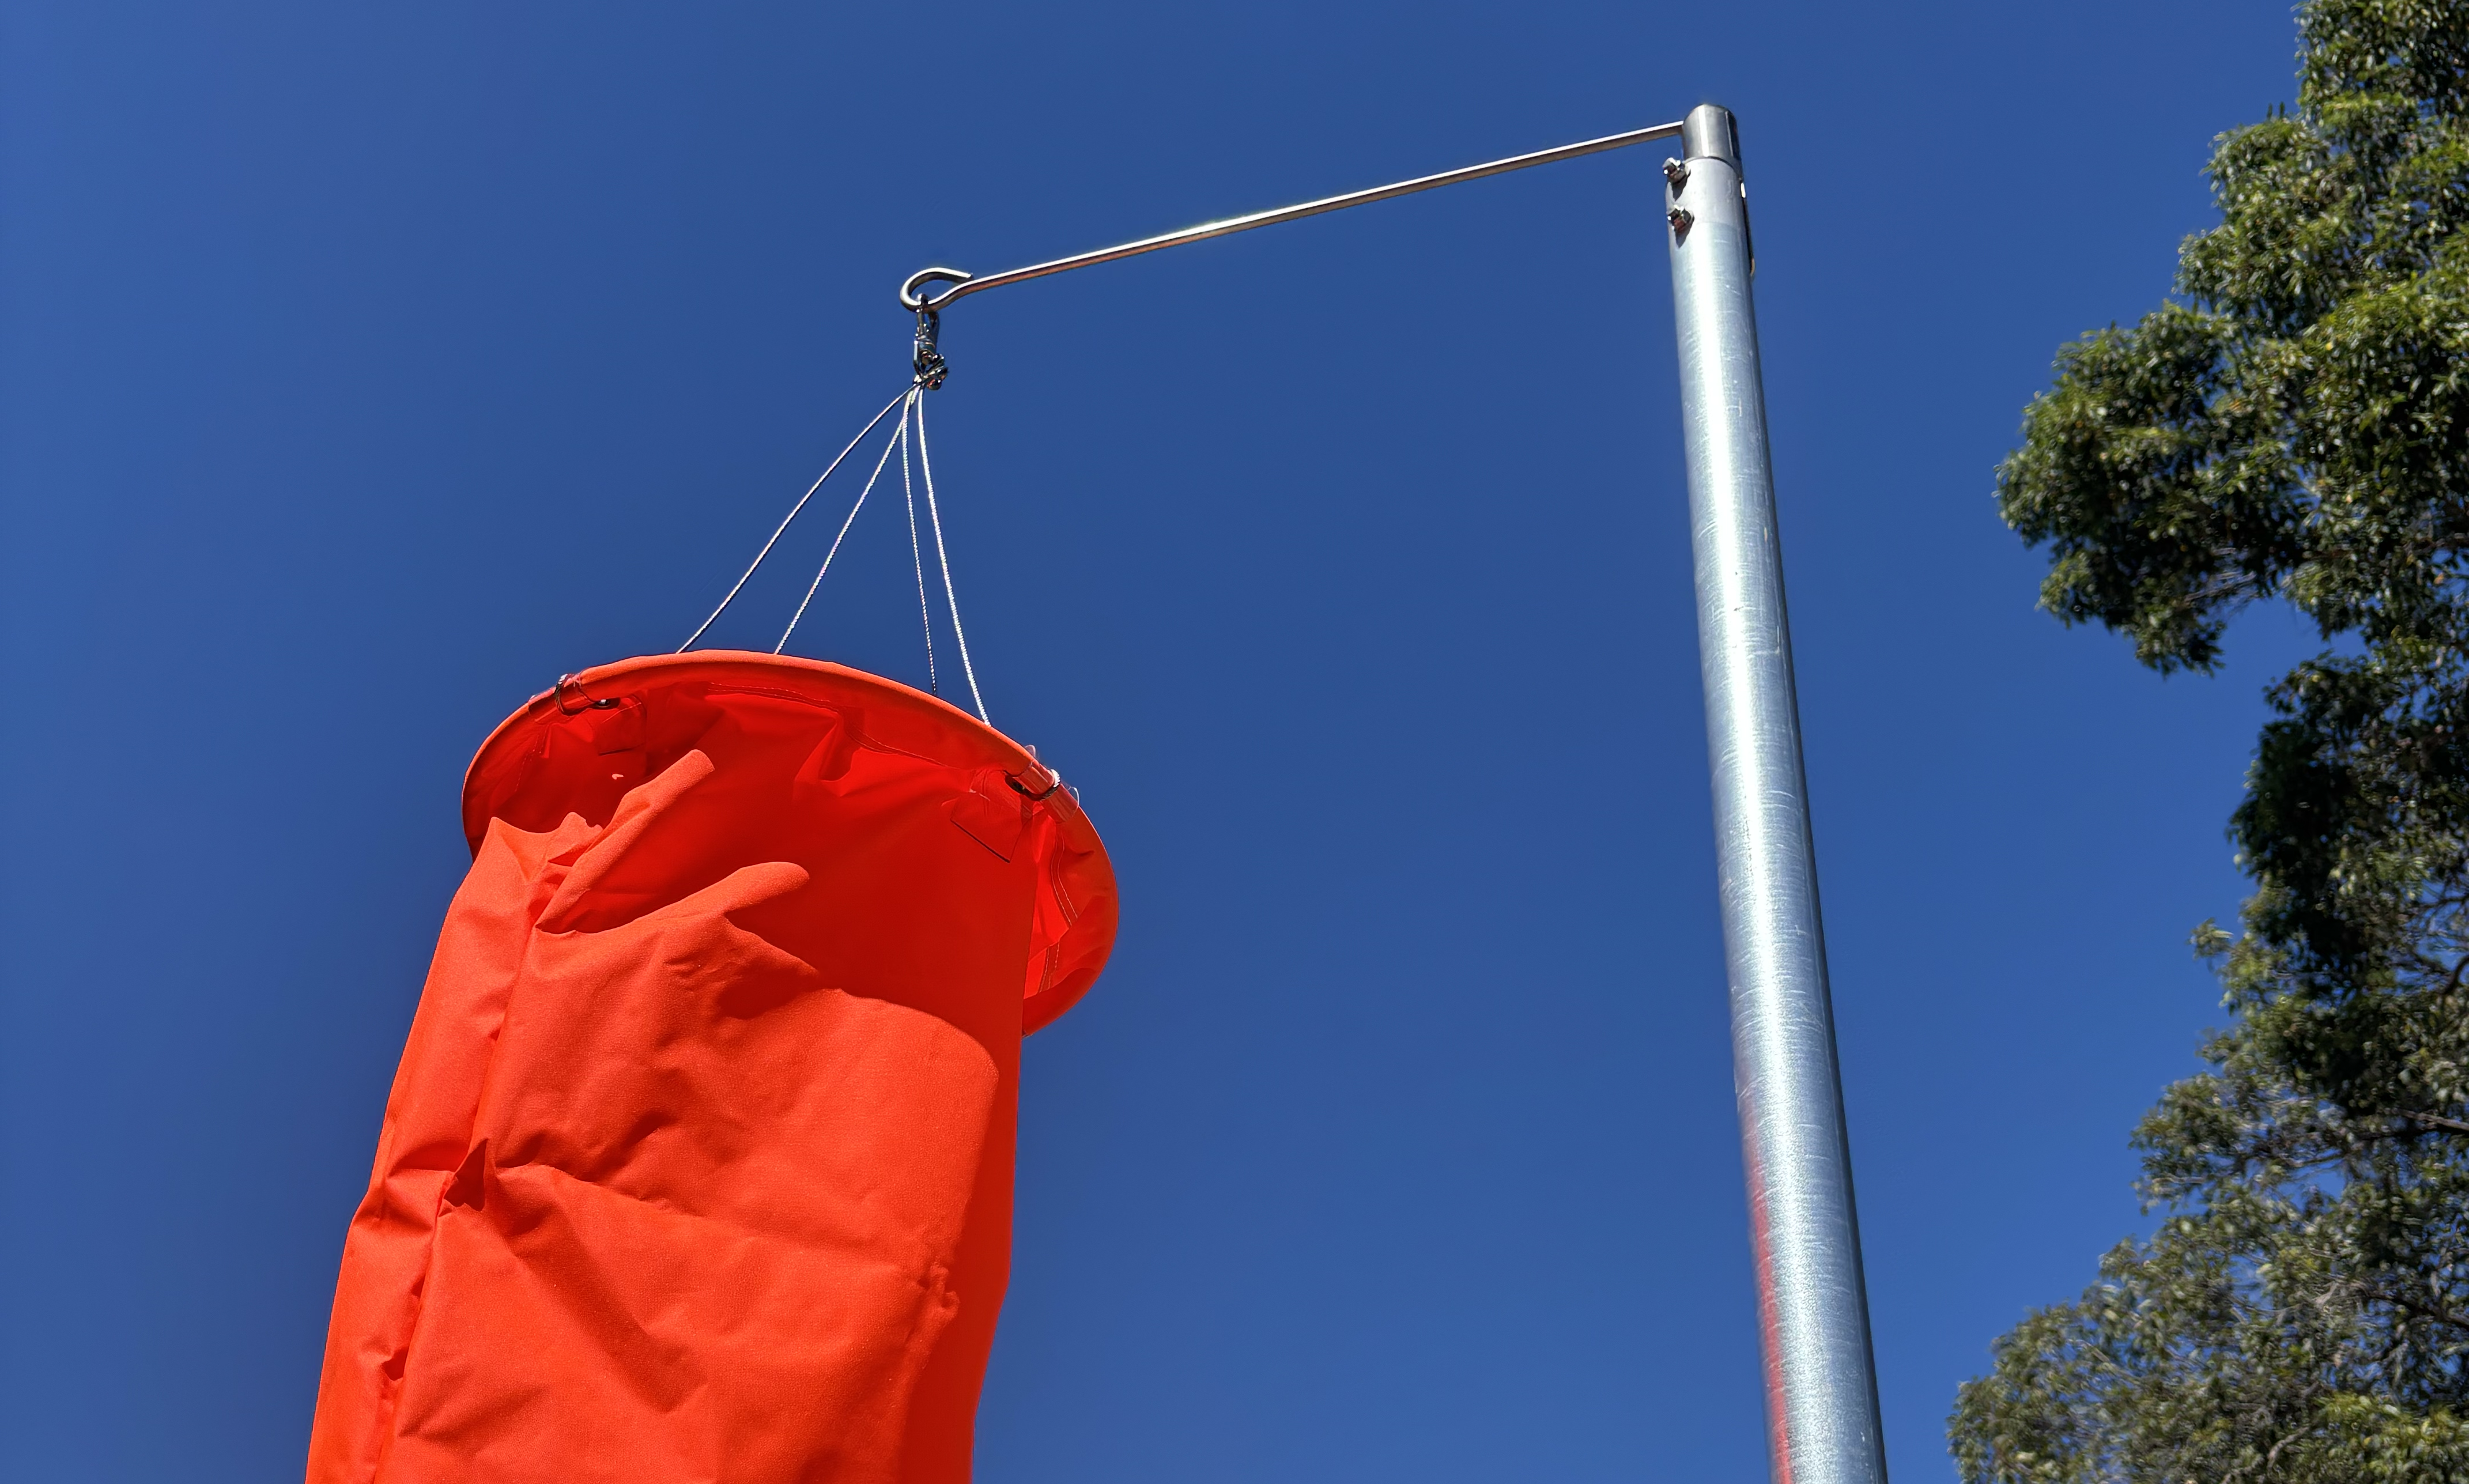
For a Windsock designed to be attached to a Rotor Arm Pivot, we recommend using a Stainless Steel Bridle Harness which is then swaged to both the Windsock and Stainless Steel swivel clip, and then attached to the Rotor Arm Pivot.
We see many alternatives from rope, wire, u-bolts through to dog chains – all of which we would regard as ‘innovative” … but sub optimal.
✅ Recommended: Stainless Steel Bridle Harness
Use a Stainless Steel Bridle Harness, swaged to both the Windsock and a Stainless Steel swivel clip, then attached to the Rotor Arm Pivot. Avoid rope, wire, u-bolts, and dog chains.
Best Practice
Use a Stainless Steel Bridle Harness swaged to a Stainless Steel swivel clip — avoid rope, wire, u-bolts, and dog chains.
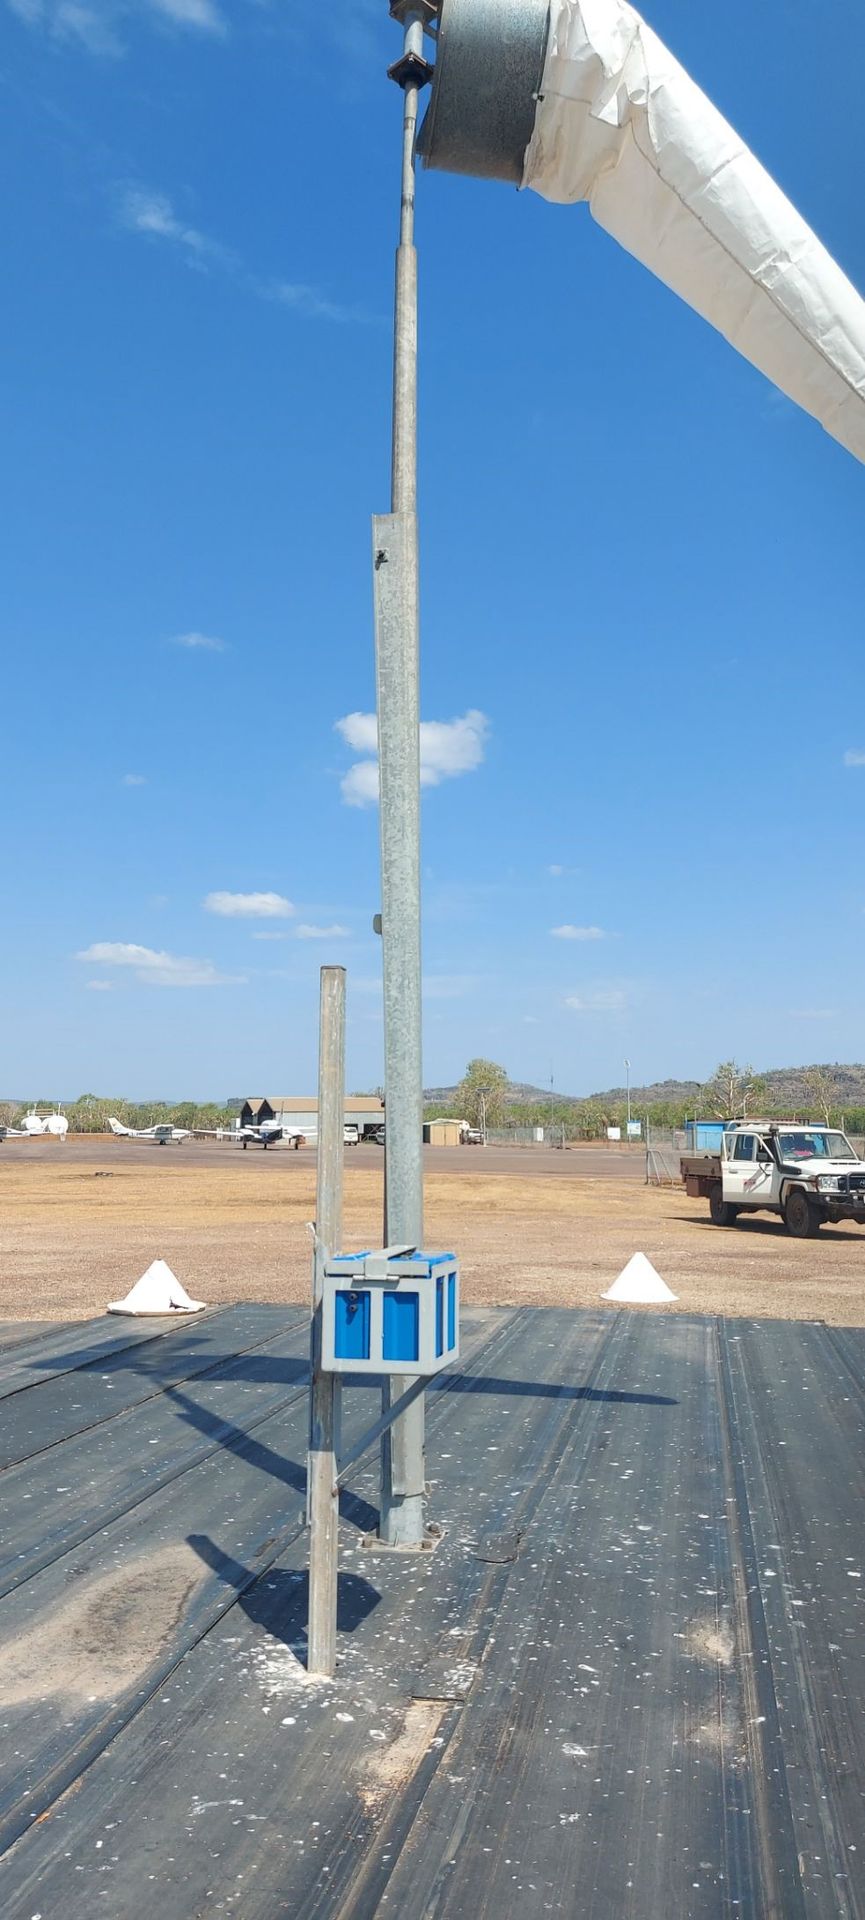
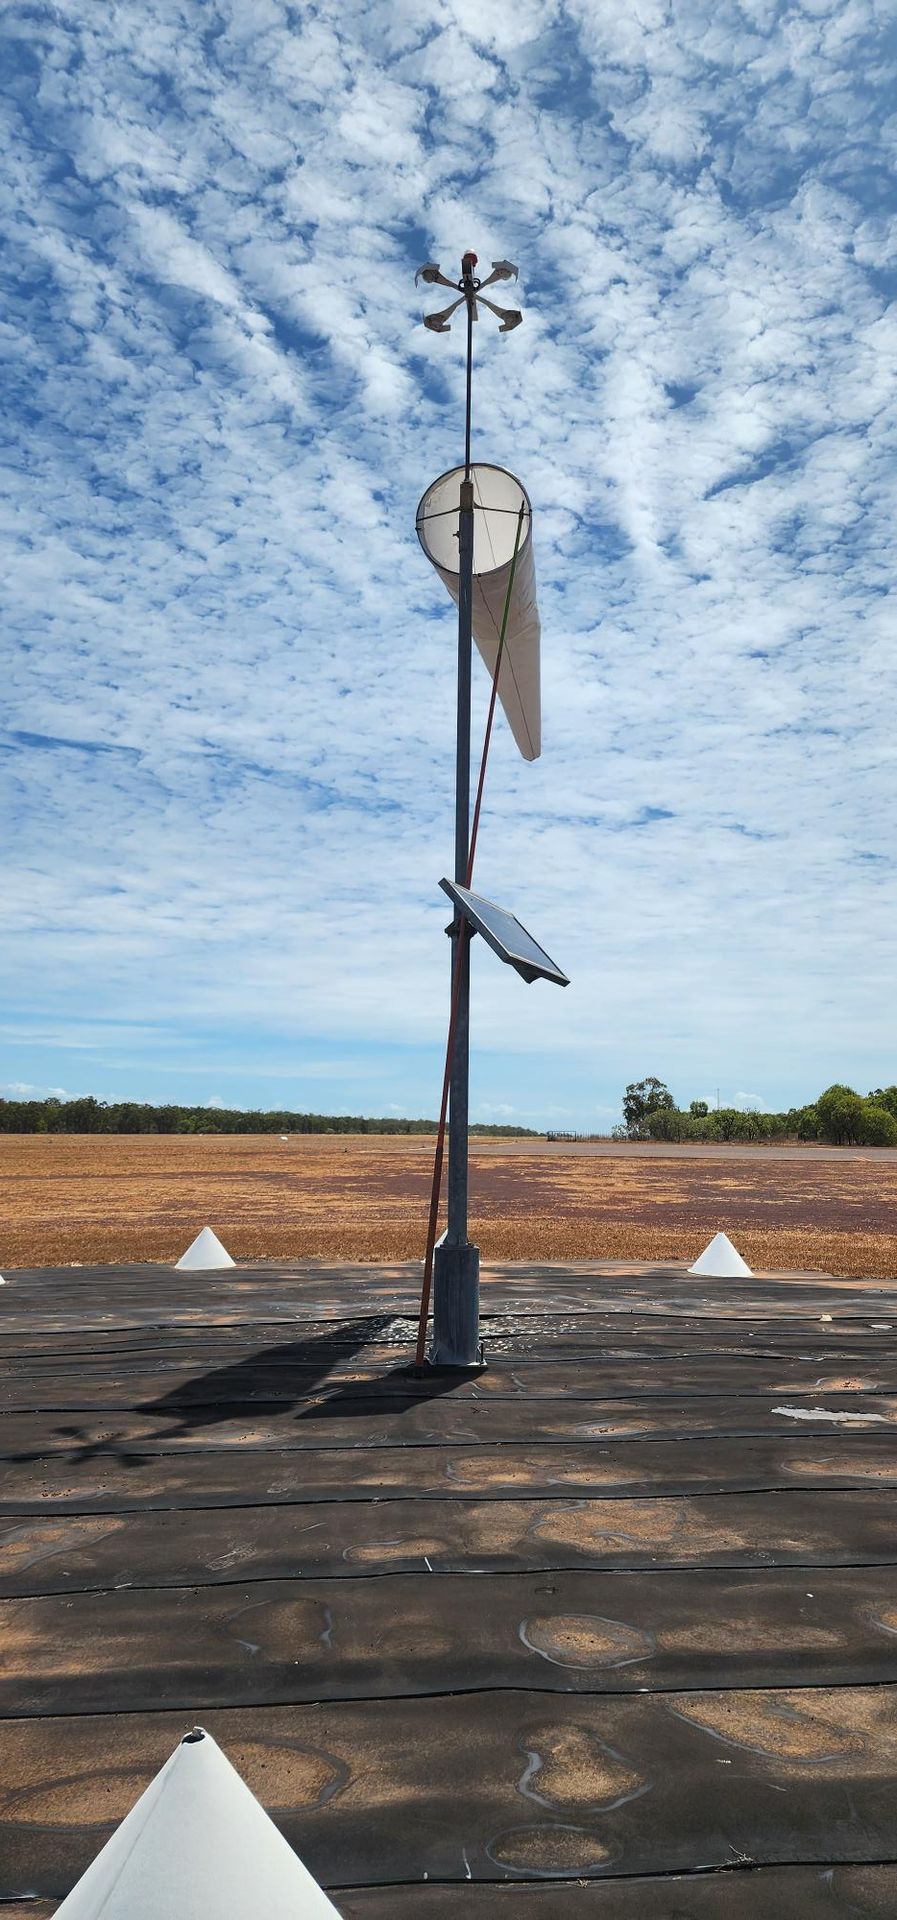
Attachment Method Two — Windsock Frames
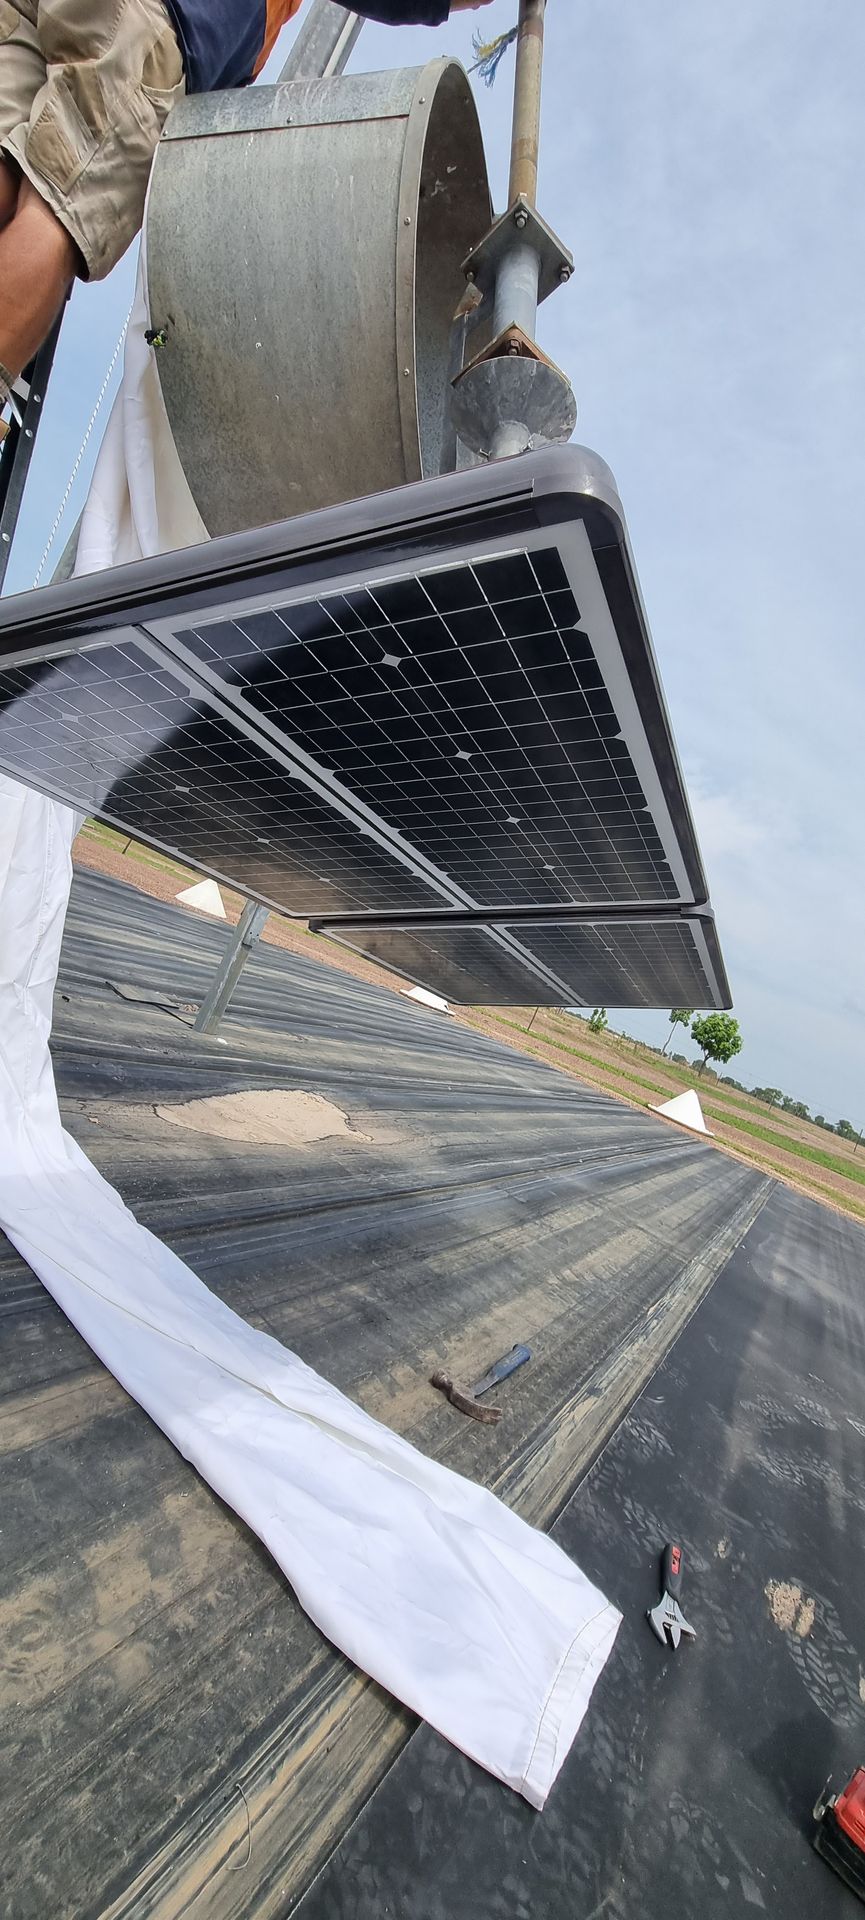
For a Windsock utilising a frame, we recommend attaching the Windsock with black UV resistant, heavy duty cable ties (we find that other colours are less UV resistant and may become brittle). The Windsocks seams should be attached at the 3 and 9 o’clock positions.
The cable ties should be firm, but not overtightened, to prevent rubbing against the frame which may show signs of rust over time. Snip the cable ties closely so that there are no sharp edges that could catch the Windsock. The cable ties should be inspected each year and replaced if required. We supply the cable ties as standard when we supply this type of Windsock.
Cable Tie Best Practices
Getting the cable tie installation right is essential for a long-lasting, safe Windsock setup. Here are the key tips to follow:
Why Cable Ties Over Metal Fasteners?
Again, many alternatives are out there from u-bolts to wire. We prefer cable ties so that there is no metal-on-metal wear and tear.
Key Advantage
Cable ties eliminate metal-on-metal contact, reducing wear and tear on both the Windsock and the Frame. This extends the life of your installation and reduces maintenance costs.
Quick Reference — Attachment Methods Compared
| Feature | Rotor Arm Pivot | Windsock Frame |
|---|---|---|
| Attachment Method | SS Bridle Harness (swaged) | Black UV Cable Ties |
| Hardware Material | 316 Stainless Steel | UV Resistant Nylon |
| Key Positioning | Swivel clip to pivot | 3 and 9 o'clock positions |
| Avoid | Rope, wire, u-bolts, dog chains | Metal fasteners, overtightening |
| Maintenance | Annual inspection | Annual inspection & replacement |
| Supplied With Windsock | Yes (on request) | Yes (as standard) |
For further advice Contact Us.Click to take a look at our Product Range.
Key Takeaways
2
Attachment methods covered
316 SS
Stainless Steel hardware recommended
3 & 9
O'clock seam positioning on Frame
Annual
Inspection & replacement cycle
Black UV
Resistant cable ties only
Included
Cable ties supplied as standard
Why Windsocks Australia?
- Australian Made & Owned — specialist manufacturer
- CASA, marine & hazardous area compliant range
- Premium fabrics — Sunbrella, WeatherMax & High Visibility Neon
- Stainless Steel hardware for harsh environments
- Proven track record across all major industries
About Windsocks Australia
Australia's leading manufacturer of industrial Windsock systems. Designed, engineered and assembled in Australia for the harshest environments — from offshore platforms to remote mining and LNG facilities.
windsocksaustralia.com.au | info@windsocksaustralia.com.au | +61 468 474 656
Need Expert Advice on Windsocks?
Contact our team for product selection, technical specifications and custom requirements.